
3 Trades Tested Ways to Remove Silicone Residue on South Florida Glass
Trades tested steps for South Florida glass: score the bead, wet low angle scrape, heat stubborn spots, allow solvent dwell, then finish with 91%...
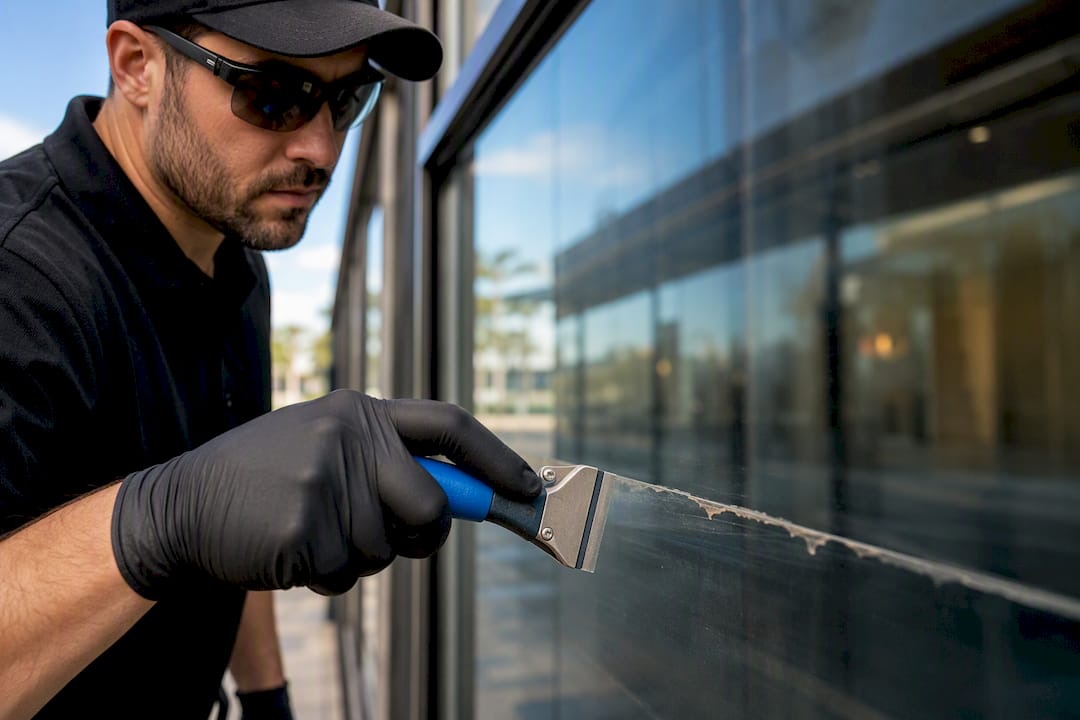
The fastest safe way to clear silicone residue on glass is to score and lift the bulk of the bead first, soften whatever won’t budge with heat or a solvent dwell period, then finish with a degrease using 91% isopropyl alcohol before you inspect the pane. Skipping straight to a razor blade on dry glass is how most South Florida homeowners end up with scratches instead of clean windows. Large or high panes, coated glass, or anything above the second floor is a job for a professional crew, not a Saturday project.
TL; DR:
- Mechanical removal through scoring and peeling should be the first step, followed by heat application on stubborn sections to avoid damaging the glass.
- Solvents like isopropyl alcohol handle thin films best, but oily residues require mineral spirits, and cured beads may need commercial silicone remover gels.
- Proper safety measures, including spot-testing solvents and wearing gloves and glasses, are essential to prevent damage and injury during removal.
- A final thorough wipe with high-proof alcohol is necessary to remove invisible oily films left by solvents that could impair new silicone bonding.
- Large or high-rise windows should be handled by professional crews equipped with specialized tools like tethered drones to ensure safety and speed.
Table of Contents
- Quick Ways to Remove Silicone From Glass Right Now
- Tools and Materials to Gather Before You Start
- Step-by-Step: Mechanical Removal First
- Chemical Options and Dwell Time for Stubborn Film
- Safety Steps and the Mistakes That Cause Damage
- Final Cleaning and Prepping the Glass for New Silicone
- When a Professional Crew Makes More Sense
- What the Trades Actually Get Right (and What DIY Guides Miss)
- When Large Glass Needs More Than a Blade and Rubbing Alcohol
- Sources
- FAQ
Quick Ways to Remove Silicone From Glass Right Now
Before reaching for anything abrasive, try these three approaches in order. Most jobs on flat, accessible glass resolve with the first two steps alone.
- Score and peel. Run a utility knife along both edges of the silicone bead to free it from the glass, then pull the strip away in one motion instead of picking at it.
- Scrape wet. Mist the glass with soapy water, hold a low-angle blade or plastic scraper nearly flat against the surface, and take short controlled passes.
- Solvent the leftovers. Dab rubbing alcohol or mineral spirits on any thin film that survives scraping and let it sit before wiping.
Solvents only need to handle the thin residue left behind, which cuts down on fumes, dwell time, and the risk of damaging window frames.
Tools and Materials to Gather Before You Start
Grab everything before you touch the glass. Stopping midway to hunt for a scraper is how wet silicone dries onto a surface you were trying to keep clean.
- Blades: a fresh single-edge razor blade or a dedicated glass scraper for flat panes; a plastic scraper or old credit card for tempered, coated, or Low-E glass where metal risks scratching the coating.
- Solvents: isopropyl alcohol for the final degrease and light films, mineral spirits for oily or greasy residue, and a commercial silicone remover gel for stubborn, cured beads that won’t lift with alcohol alone.
- WD-40 or Goo Gone: both can loosen sticky residue on the glass itself, but they leave an oily film that has to be stripped later. Standard glass cleaners like Windex don’t dissolve cured silicone and mainly work as a polishing step after the sealant is gone.
- Accessories: microfiber towels, a spray bottle with soapy water, nitrile gloves, safety glasses, and a drop cloth for window sills or floors.
Step-by-Step: Mechanical Removal First
Start mechanical, escalate to heat and chemicals only when the blade stalls. That order protects the glass and keeps your fume exposure to a minimum.
- Score both edges of the bead. Drag a utility knife along the top and bottom of the silicone line where it meets the glass, cutting through the adhesion without gouging the surface.
- Peel what lifts freely. Grab the scored edge with your fingers or a plastic scraper and pull steadily. Fresh or partially cured silicone often comes away in long strips at this stage.
- Warm anything that resists. Point a hair dryer at cured, stubborn sections for 20 to 30 seconds. Heat makes the rubber pliable enough to peel instead of tearing into crumbs.
- Wet the glass before scraping. Spray soapy water directly on the work area. A wet surface reduces friction and keeps grit from scratching the pane while you work.
- Hold the blade nearly flat. Keep the scraper at a low, shaving angle rather than upright, and use short one-inch strokes instead of long sweeping passes.
- Switch tools once the bulk is gone. When the blade stops picking up material and starts just sliding over a thin film, stop scraping. That’s your cue to move to solvent, not to press harder.
Pro Tip: Wipe the blade edge on a towel every few passes. A single trapped grit particle is the most common cause of long scratch lines, and it happens faster than most people expect on Florida’s dusty, humid glass.
Chemical Options and Dwell Time for Stubborn Film
Solvent choice depends on what’s left after scraping. Isopropyl alcohol handles thin films and doubles as the final degrease; mineral spirits cuts through oily or waxy residue that alcohol struggles with; commercial silicone removers are formulated gels built for cured beads that have bonded hard to the glass.
- Apply the solvent generously to the residue and let it sit before touching it.
- Dwell time typically runs a few minutes for isopropyl alcohol and longer for gel removers, since the chemical needs time to break down the polymer bonds rather than just sit on the surface.
- Lift the softened residue with a plastic scraper or microfiber cloth, working from the edge inward.
- Wipe away every trace of solvent before you apply new silicone, since leftover residue will stop fresh sealant from bonding.
Skip acetone and brake cleaner unless nothing else works. Both are aggressive enough to cloud plastic window frames, damage vinyl trim, or strip protective coatings on newer glass, so treat them as a last resort rather than a first choice.
Safety Steps and the Mistakes That Cause Damage
Most scratched windows trace back to the same handful of errors: dry scraping, the wrong solvent for the coating, or rushing the heat step. A few habits prevent nearly all of it.
- Spot-test any solvent near the frame first, especially on coated or Low-E glass where a strong chemical can etch the finish.
- Wear nitrile gloves and safety glasses whenever you’re scraping or applying solvent.
- Open a window or run a fan when working with mineral spirits or commercial removers indoors.
- Keep the surface wet or lubricated throughout scraping to cut down on chatter and scratch risk, and test aggressive solvents on a small area before full application since some can harm frames and gaskets.
- Bag solvent-soaked rags separately and dispose of removed silicone according to your local waste guidelines rather than tossing it in a regular trash bag while still wet with chemicals.
Final Cleaning and Prepping the Glass for New Silicone
Once the bulk is gone and the film is lifted, the glass isn’t actually ready yet. Solvents like mineral spirits and WD-40 leave a thin oily layer that’s invisible until you check for it.
- Wipe the entire area with 91% isopropyl alcohol on a fresh microfiber towel. High-proof alcohol removes the invisible oily films that solvents leave behind and that would otherwise stop new silicone from bonding properly.
- Check the glass from an oblique angle in natural light. Residue that’s invisible straight on often shows up clearly as a haze when you view the pane sideways.
- A melamine sponge, used gently after a solvent dwell, can lift the last trace of film on plain glass without scratching, though it’s worth testing on a hidden edge first.
- Finish with a squeegee pass and a dry microfiber for a streak-free result, especially before caulking a new bead where any residue will undermine adhesion. Vista Drone Cleaning’s guide on streak-free high-rise glass cleaning covers the same principle at building scale.
When a Professional Crew Makes More Sense
DIY works well for a shower door or a single window sill. It stops making sense once you’re dealing with large storefront panes, tempered or coated glass, repeated smearing you can’t seem to fix, or anything mounted more than a story or two off the ground.
Professional crews bring controlled access, the right solvent for the specific coating, and safety protocols that most homeowners aren’t equipped to replicate. On high-rise or hard-to-reach glass, commercial teams finish faster and with far less risk of the frame damage or scratching that comes from working overhead on a ladder.
What the Trades Actually Get Right (and What DIY Guides Miss)
Most consumer advice on silicone removal treats it as a single technique. It’s really three separate skills stacked in sequence, and skipping straight to the third one is where damage happens.
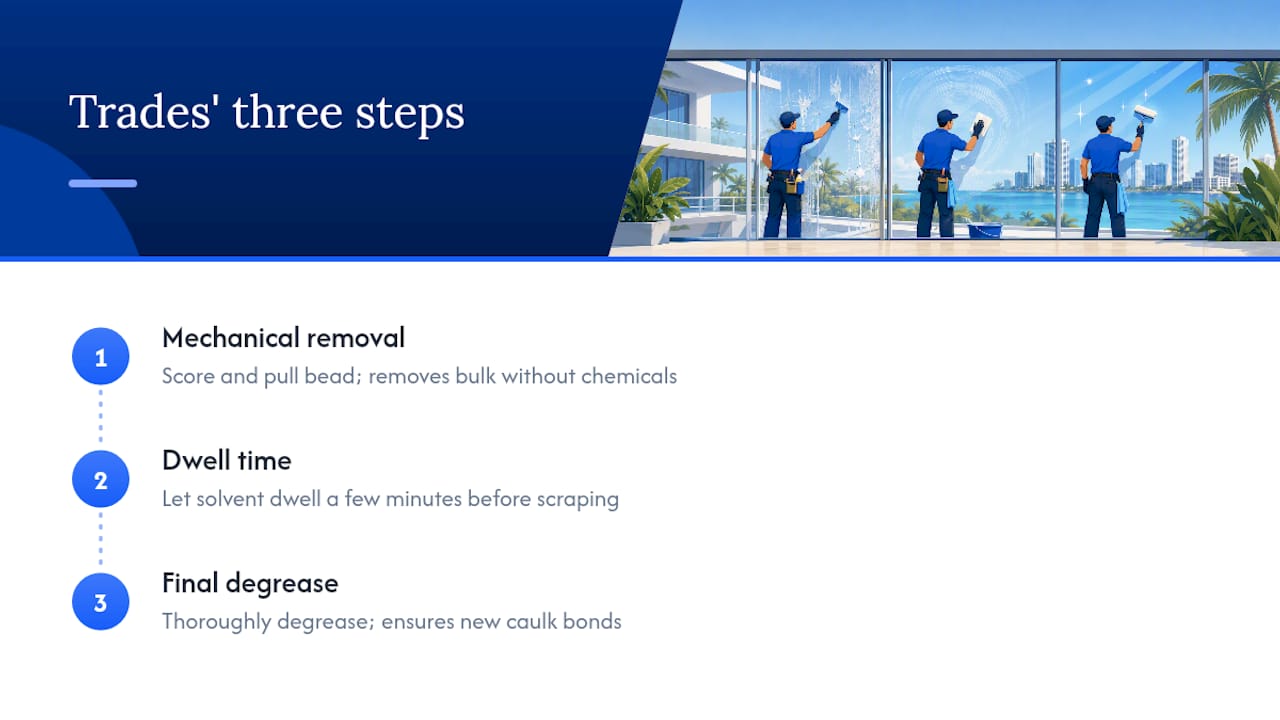
The mechanical step gets underrated. People reach for solvent too early because scraping feels slow, but a scored bead pulled cleanly removes most of the bulk with zero chemical risk. Solvent should be cleanup, not the main event. The dwell time step gets skipped almost universally. Homeowners spray a solvent and start scraping in seconds, then wonder why it’s smearing instead of lifting. Give it the few minutes it needs.
What conventional advice underplays most is the final degrease. Plenty of guides stop once the residue looks gone. If you’re planning to re-caulk, that’s the step that decides whether the new bead actually bonds or peels off in six months. On anything above a ground-floor window, in Florida’s humidity and glare, the honest first move is deciding whether this is a ladder job or a phone call.
, Eliot
When Large Glass Needs More Than a Blade and Rubbing Alcohol
For a single window, a razor blade and some patience get the job done. For a South Florida condo tower, retail storefront, or office building with silicone residue streaked across dozens of high panes, the math changes fast. Scaffolding, lifts, and rope access all mean permits, road closures, and days of disruption for a job that a tethered drone crew can often finish in one to three days.

A drone cleaning company can use FAA Part 107-certified pilots and tethered drones to clean high-rise windows, facades, and glass up to 200 feet without scaffolding, boom lifts, or rope crews on the building. The crew stays on the ground, the rinse is pure de-ionized water for a streak-free finish, and the whole project runs under $2M liability insurance. If your property in Miami, Fort Lauderdale, or Boca Raton has silicone haze, construction dust, or general grime building up on glass that’s too tall or too risky for a ladder, request a free quote and Vista Drone Cleaning will get back to you within 24 hours with a plan for the site.
Sources
- How to Remove Silicone From Glass: Today’s Homeowner
- Silicone removal from glass: A professional’s guide: Pine Country Window Cleaning
- How to Remove Silicone Sealant from Glass in 5 easy steps: Junbond
FAQ
How do I remove silicone residue from glass windows?
Score the bead’s edges, peel or scrape it away on a wet surface with a low-angle blade, then use isopropyl alcohol or mineral spirits to dissolve any leftover film before a final alcohol wipe.
Will WD-40 remove silicone from glass?
WD-40 can loosen sticky, uncured silicone residue on the glass surface, but it leaves an oily film that needs a follow-up wipe with isopropyl alcohol before the glass is truly clean.
What does Windex do to silicone?
Windex and similar glass cleaners don’t break down cured silicone sealant chemically. They’re only useful for polishing the glass after the silicone has already been removed mechanically and chemically.
Does isopropyl alcohol remove silicone residue?
Isopropyl alcohol dissolves light silicone films and works well as the final degreasing step, though thick or fully cured beads usually need mechanical scraping or mineral spirits first.
When should I call a professional instead of doing this myself?
Call a professional for large storefront panes, coated or tempered glass, repeated smearing you can’t fix, or any window mounted above the ground floor where a ladder becomes a fall risk.